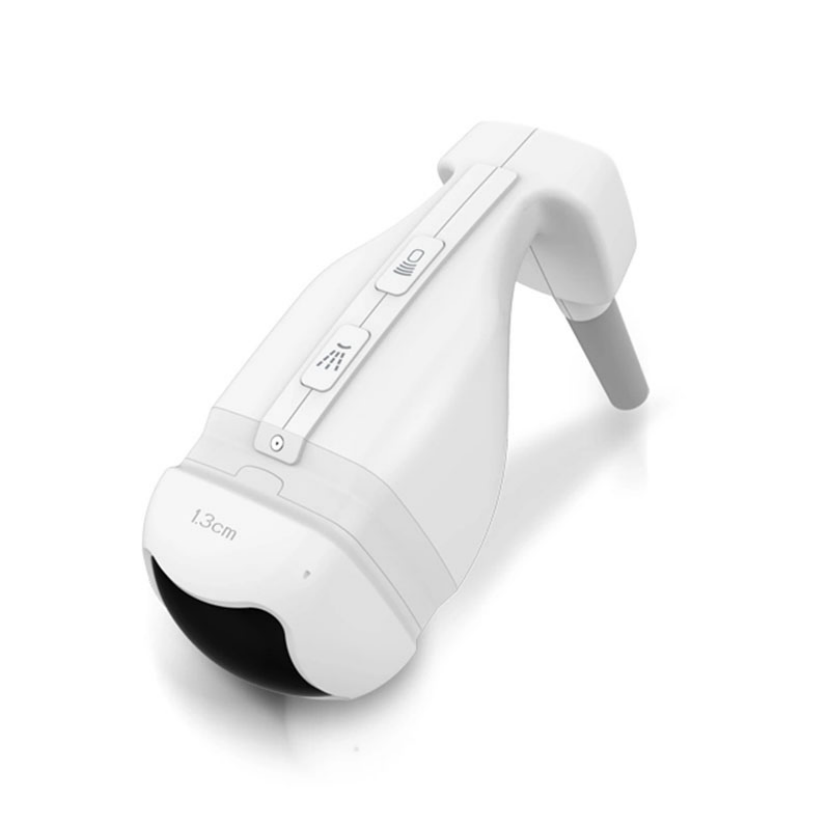
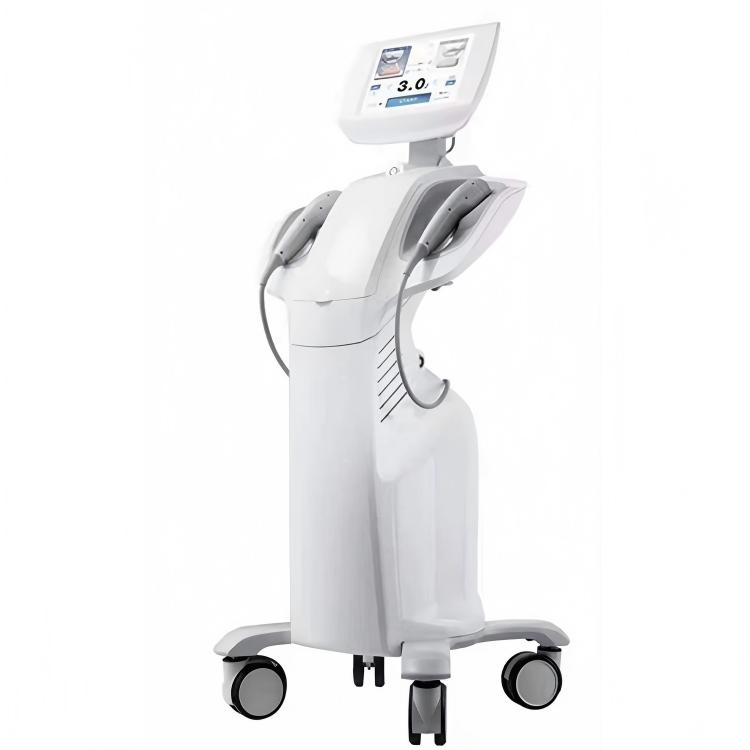
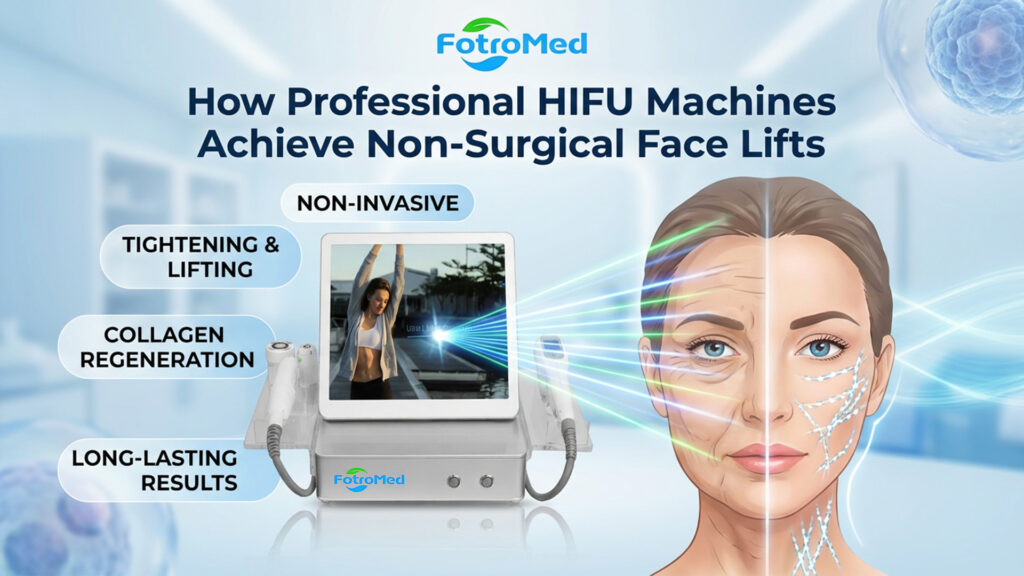
The 7D HIFU machine represents a new era in non-invasive skin lifting and tightening. Combining Micro-Focused and Macro-Focused Ultrasound technology, it delivers effective results with reduced discomfort compared to older models. Whether you are a first-time operator or an experienced HIFU practitioner, understanding the right techniques, settings, and precautions is essential for safe and effective treatments.
This guide answers the most common training questions and provides step-by-step recommendations for using your new machine confidently.
Before Treatment: Preparing the Client and Machine
One of the first steps in a successful HIFU treatment is proper preparation.
Mapping the Face:
Always draw lines to mark the forbidden treatment areas before starting. These are the regions that should be avoided during treatment because they are nerve-rich and more sensitive, such as:
- Around the ears
- Above the eyebrows
- Around the mouth
Pre-Treatment Checklist:
- Take “before” photos to track progress.
- Ensure the skin is clean and free of makeup, creams, or serums.
- Ask the client to remove accessories.
- Clearly mark forbidden areas, leaving about a finger-width margin.
- Apply cooling gel evenly to the treatment area — chilled gel can be used for clients with sensitive skin.
Ideal Age Range:
HIFU is most effective for clients in their 40s and above, but it can also benefit those in their 30s as a preventative or early lifting treatment.
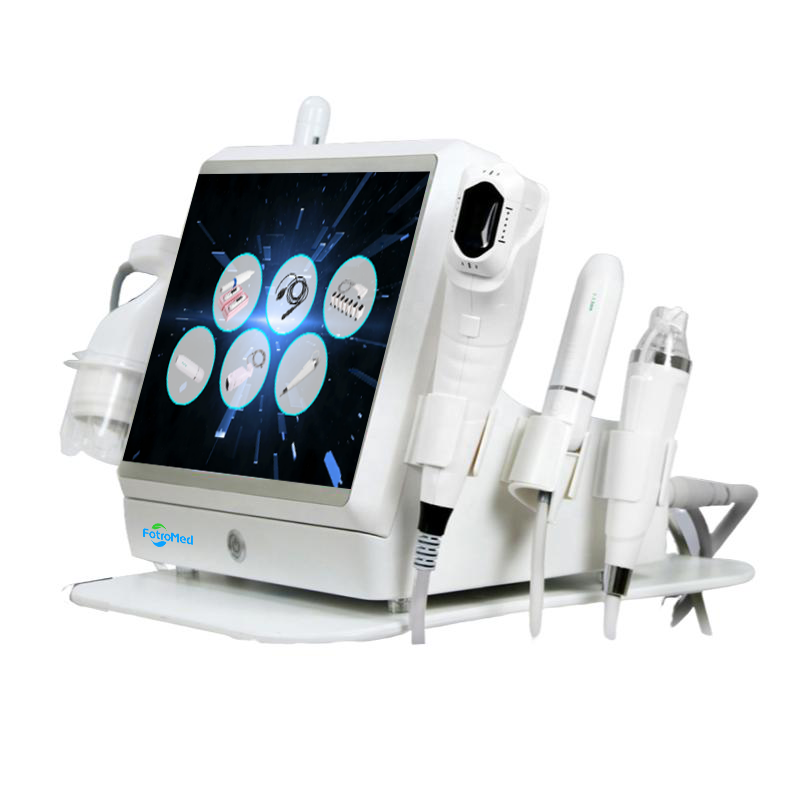
Cartridge Usage and Recommended Settings
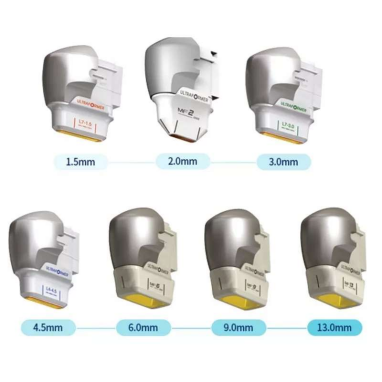
The 7D HIFU machine comes with multiple cartridges for different treatment depths.
| Cartridge Depth | Primary Use | Notes |
|---|---|---|
| 4.5 mm | SMAS lifting | First pass; can be used on most of the face except forbidden areas |
| 3.0 mm | Dermal tightening | Second pass; stimulates collagen in mid-dermis |
| 2.0 mm | Precision targeting for deep wrinkles | Stronger, ideal for eyes and stubborn wrinkles |
| 1.5 mm | Fine lines and delicate areas | Around eyes, avoiding direct eye contact |
| 6 mm, 9 mm, 13 mm | Body contouring | Start with deepest, move to shallower |
Starting Cartridge:
Begin with the 4.5 mm cartridge for SMAS lifting.
Energy Settings (“Juice”):
- Test energy on the client first.
- Start at 0.5 or 0.7 and increase gradually.
- Effective range: 2.0–2.5 (maximum 3.0).
- The highest tolerable energy typically produces the best results.
Pitch & Length Settings:
- Pitch: spacing between dots.
- Length: length of each treatment line.
- Keep both at the default 2.0 unless specifically required.
Signs of Effective Energy:
Clients should feel a tingling sensation, and the skin should show slight redness during treatment.
Treatment Techniques: Stamping vs. Sliding
The machine offers two modes:
- Stamping Mode – Press the trigger, wait for completion, then move to the next spot.
- Sliding Mode – Hold the trigger and glide slowly for faster coverage (requires controlled movement).
Best Practices:
- Perform two passes over each area.
- In sliding mode, use the Repeat Mode (alarm icon) to preset shots for continuous delivery.
- For a full face: 350–550 shots in total, with about 100 shots for the 4.5 mm cartridge.
- Stretch skin over bony areas like the jawline for comfort.
- Ensure the cartridge is always in full contact with the skin.
During Treatment: Layering for Maximum Results
For the best lifting and tightening effects, use a multi-layer approach:
- 4.5 mm cartridge – Targets the SMAS layer for deep lifting.
- 3.0 mm cartridge – Stimulates collagen in the mid-dermis.
- 1.5 mm cartridge – Smooths fine lines and delicate areas.
Movement Guidelines:
- Lifting & Stamping: Wait for each shot to complete before moving.
- Overlapping: Slightly overlap lines to avoid untreated gaps.
- Sliding Mode for Sensitivity: Use around the forehead or near the teeth.
Avoid:
- Directly treating the cheekbones.
- The forbidden zones mapped earlier.
- Immediate eye contact area.
Post-Treatment Care: Supporting Skin Recovery
After completing all treatment depths:
- Clean the treated area.
- Apply a medical facial mask to reduce redness.
- Advise the client to:
- Avoid direct sun exposure.
- Apply sunscreen daily.
- Keep skin well hydrated for at least one week.
Treatment Frequency:
Clients should wait at least one month before their next HIFU session. For optimal safety and results, three months is recommended.
Body Treatments and Special Considerations
For body contouring, use the 13 mm, 9 mm, and 6 mm cartridges in descending order of depth. Always avoid bony areas and sensitive regions. Reference images will help identify safe treatment zones.
Contraindications:
Do not treat:
- Pregnant women
- Areas with metal implants
- Directly over dental implants (unless using gauze and lower energy)
A detailed contraindication guide should be provided to all operators.
Machine Features to Improve Workflow
- Preset Shot Function: Allows you to set the total shots for a treatment.
- Repeat Mode: Delivers shots automatically without holding the trigger continuously, improving efficiency.
The 7D HIFU machine is designed to deliver professional-grade lifting and tightening with advanced technology that prioritizes client comfort. By following proper preparation steps, choosing the right cartridge and settings, and applying precise techniques, practitioners can achieve consistent, visible results while maintaining safety.
Mastery comes with practice — start slowly, monitor client feedback closely, and adjust as needed to deliver the most comfortable and effective treatment possible.