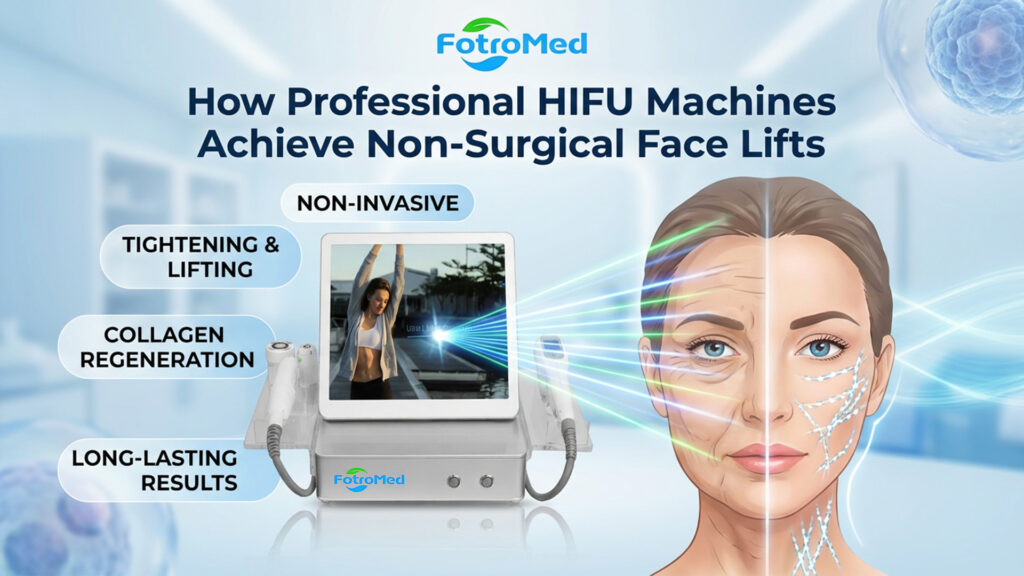
In the field of aesthetic medicine, the hifu machine for face professional use represents a paradigm shift from ablative resurfacing to subcutaneous structural remodeling. For clinic owners and practitioners, understanding the device is not just about pressing a button; it is about grasping the complex interaction between ultrasonic physics and human anatomy.
This technical guide explores the biological mechanisms of High-Intensity Focused Ultrasound. We will dissect how devices like the UltraLift SD Compact achieve precise Thermal Coagulation Points (TCPs) at the SMAS layer, analyze the frequency differences between 4D and traditional transducers, and provide a clinical roadmap for safe, effective facial lifting without surgery.
Beyond Surface Heat: The Physics of Focused Ultrasound
To understand why a hifu machine for face professional yields results superior to Radio Frequency (RF) or Lasers, one must understand energy delivery.
RF devices use “Bulk Heating,” warming the skin from the outside in (volumetric heating). This often results in high surface temperatures but insufficient depth. In contrast, HIFU functions like a magnifying glass focusing sunlight. It allows the ultrasound waves to pass harmlessly through the epidermis and dermis, converging only at a specific focal depth.
The Thermal Coagulation Point (TCP)
At the focal point, the vibration of water molecules generates friction heat instantly.
- Target Temperature: 65°C to 75°C.
- Why this range? This is the precise window required for Collagen Denaturation. Below 60°C, collagen only contracts temporarily. Above 65°C, the hydrogen bonds holding the collagen triple helix structure break, inducing an immediate contraction (the “shrink wrap” effect) and triggering the body’s wound healing response (Neocollagenesis).
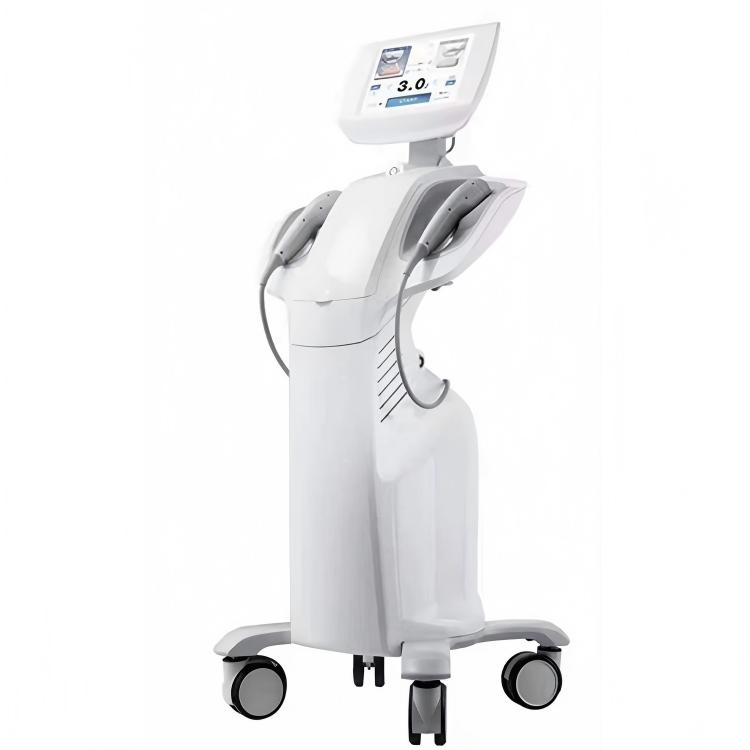
Our UltraLift SD Compact is engineered to create TCPs that are approximately 1mm³ in volume. This precision ensures that while the SMAS layer is heated to 65°C, the surrounding tissue remains intact, accelerating recovery.
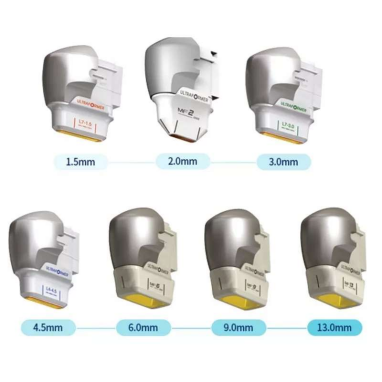
Anatomical Depths: The 1.5mm, 3.0mm, and 4.5mm Explained
A professional machine is defined by its ability to target multi-layer architecture. We often explain this to practitioners using the “Layered Bed” analogy.
4.5mm Transducer: The SMAS Anchor
- Target: Superficial Musculo-Aponeurotic System (SMAS).
- Frequency: Typically 4MHz. Lower frequency allows for deeper penetration with less attenuation.
- Function: The SMAS is the fibrous network that connects the facial muscles to the dermis. In a surgical facelift, this is the layer the surgeon cuts and pulls. The UltraLift SD Compact tightens this layer thermally, creating a “biological suspension” that lifts the jowls and redefines the jawline.
3.0mm Transducer: The Structural Dermis
- Target: Deep Dermis / Subcutaneous Fat Interface.
- Frequency: Typically 7MHz.
- Function: At this depth, the energy stimulates the remodeling of the structural collagen matrix. This restores volume and elasticity (the “bounce” of the skin), effectively treating nasolabial folds.
1.5mm Transducer: The Surface Finisher
- Target: Superficial Dermis / Epidermis.
- Frequency: 7MHz or 10MHz.
- Function: This addresses surface texture. It tightens the pores, improves skin tone, and targets fine static lines around the eyes (Crow’s feet).
Visualizing the Depth Chart:
| Cartridge Depth | Target Layer | Frequency (MHz) | Clinical Goal |
| 1.5mm | Upper Dermis | 7MHz / 10MHz | Fine Lines, Pore Size, Texture |
| 3.0mm | Deep Dermis | 7MHz | Plumping, Wrinkle Reduction, Elasticity |
| 4.5mm | SMAS Layer | 4MHz | Lifting, Jawline Contouring, Jowl Reduction |
Delivery Modes: Single Line vs. 4D Matrix Technology
As technology evolves, the method of delivering these TCPs has changed. Understanding the difference between a standard “Single Line” machine and a “4D” machine like the FotroHIFU Max is crucial for treatment planning.
Single Line Delivery (Traditional)
- Mechanism: The transducer moves linearly, firing one row of dots (e.g., 25mm length). The operator must move the handle down 2-3mm and fire again.
- Pros: Extreme precision. The operator has full control over every line placement.
- Cons: Time-consuming. A full face requires 300-500 manual repetitions.
- Best For: Detailed work on the jawline or smaller faces using the UltraLift SD Compact.
4D Matrix Delivery (Multi-Line)
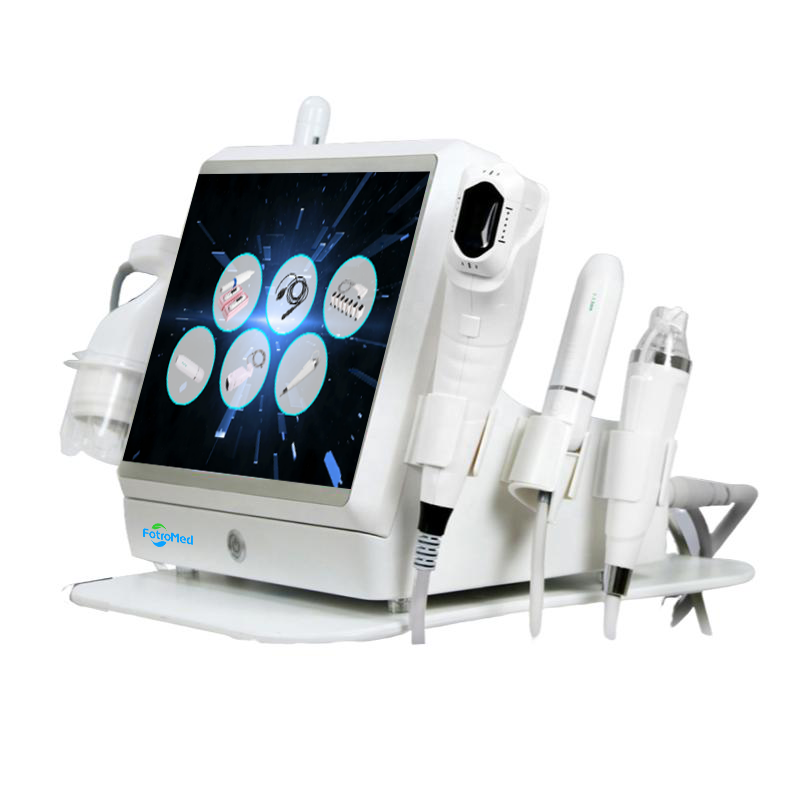
- Mechanism: The FotroHIFU Max utilizes a wider transducer mechanism. With a single press of the button, the machine can automatically fire up to 12 lines to form a square grid (Matrix).
- Pros: Uniformity and Speed. It ensures that the spacing between lines is mathematically perfect (e.g., exactly 1.5mm apart), reducing the risk of “Hot Spots” caused by operator hand tremor.
- Cons: The footprint is larger, making it harder to use on curved areas like the forehead.
- Best For: Large flat areas like the cheeks, neck, and body.
Technical Insight:
The choice between Single Line and 4D is not about power; it is about Geometric Efficiency. Professional clinics often keep both handles: 4D for the cheeks/neck speed, and Single Line for the detailed sculpting around the mouth.
The Biological Response: Phases of Healing
When you perform a treatment with a hifu machine for face professional, you are initiating a biological cascade that lasts for months. Educating your clients on this timeline manages their expectations.
Phase 1: Inflammation (Day 0 – Day 2)
Immediately after the 4.5mm treatment, the TCPs cause micro-injury. The body responds by sending macrophages to the area.
- Visible Effect: Mild erythema (redness) and edema (swelling). The patient feels an immediate “tightness,” but this is largely due to heat contraction and swelling, not new collagen yet.
Phase 2: Proliferation (Day 3 – Day 30)
Fibroblasts are activated. They begin to synthesize new collagen fibers (Type III Collagen) and elastin.
- Visible Effect: Skin starts to feel firmer to the touch.
Phase 3: Remodeling (Day 30 – Day 90+)
The Type III collagen matures into stronger Type I collagen. The cross-links between fibers tighten, creating the long-term lifting effect.
- Visible Effect: The jawline becomes sharper, and the cheekbones appear more defined. This is why we tell clients the “Best Result” is seen at 3 months.
Professional Mapping: Safety Zones and Vectors
Owning a high-spec machine like the UltraLift 7D Pro is only half the equation. The operator must understand facial mapping to avoid nerve injury.
The Danger Zones (Do Not Treat)
High-intensity ultrasound can temporarily stun or damage motor nerves if hit directly.
- Marginal Mandibular Nerve: Located along the jawline, roughly two fingers width from the corner of the mouth. Hitting this can cause a temporary asymmetrical smile.
- Temporal Branch of Facial Nerve: Located at the temple, above the eyebrow tail. Hitting this can affect eyebrow movement.
- Supraorbital / Infraorbital Foramen: The exit points for sensory nerves above and below the eye.
The Lifting Vectors
To achieve a “Lift,” we do not shoot randomly. We follow specific vectors perpendicular to the vector of aging (Gravity).
- Vector 1: From the nasolabial fold towards the Tragus (Ear).
- Vector 2: From the mentalis (chin) along the jawline towards the earlobe.
- Vector 3: From the eyebrow tail upwards towards the hairline.
Our Clinical Training Video Library provides detailed visual guides on how to draw these vectors on the patient’s face before applying gel.
Parameter Settings: Customizing for Tissue Density
One of the most common mistakes is using “Factory Default” settings for every patient. A true professional adjusts parameters based on tissue thickness.
Energy (Joules/cm²)
- Thick Skin / Heavy Fat: Can tolerate higher energy (e.g., 1.0J – 1.5J on 4.5mm). The fat layer acts as a buffer.
- Thin Skin / Bone Structure: Requires lower energy (e.g., 0.6J – 0.9J). High energy here can reflect off the bone (Periosteal Pain), causing significant discomfort.
Pitch (Dot Spacing)
- Standard Pitch: 1.5mm between dots.
- High Density: 1.0mm between dots. Used for stubborn areas but increases heat accumulation.
- Low Density: 2.0mm between dots. Used for sensitive patients.
The UltraLift SD Compact interface allows for precise adjustment of Pitch in 0.1mm increments, giving the practitioner total control over thermal density.
FAQ
Here are the most common questions regarding the operation and science of a hifu machine for face professional, answered by our clinical training team.
Q1: How many shots are recommended for a standard “Full Face & Neck” protocol?
For a comprehensive treatment using a device like the UltraLift SD Compact, the industry standard is between 400 to 600 shots.
- Breakdown: Approximately 200-300 shots on the cheeks/jawline (4.5mm & 3.0mm), 100 shots on the submental/neck area, and 100 shots on the forehead/eyes (1.5mm).
- Note: Using fewer shots (e.g., 200 total) often leads to “sub-clinical” results, while excessive shots increase the risk of edema.
Q2: Is HIFU safe for Fitzpatrick Skin Types IV-VI (Darker Skin)?
Yes. Unlike lasers or IPL which target melanin (chromophores), HIFU relies solely on acoustic energy. It bypasses the epidermis entirely.
- The Science: The energy absorption is independent of skin color. This makes the UltraLift 7D Pro an excellent option for clinics with diverse patient bases, as there is zero risk of Post-Inflammatory Hyperpigmentation (PIH) when performed correctly.
Q3: Can I combine HIFU with RF Microneedling or Injectables?
Yes, but timing is critical.
- With RF Microneedling: You can perform HIFU first (deep layer) followed by RF Microneedling (superficial layer) in the same session for a “3D Skin Renovation.” Check out our FotroHIFU Max which can be configured to support multi-modalities.
- With Fillers/Botox: We recommend performing HIFU before injectables. If the patient already has fillers, wait 4 weeks to avoid potential heat degradation of the filler product.
Q4: What causes the “electric shock” sensation, and how do I prevent it?
This sensation occurs when the ultrasound energy hits a sensory nerve, typically near the forehead or jawline.
- Solution: Reduce the energy (J) in these danger zones. Alternatively, switch to a 7D MMFU Cartridge. The 7D technology uses a finer focal point, which significantly reduces the probability of stimulating the nerve compared to older 4D macro-dots.
Q5: How do I verify if the cartridge is actually firing energy?
Over time, transducers can deplete. A professional should perform a “Acrylic Test” regularly.
- The Test: Fire a shot onto a block of clear acrylic plastic. You should see a uniform line of “bubbles” or “cracks” inside the plastic.
- The Check: If the dots are faint or missing in the middle, it is time to order Replacement Cartridges. Our machines include a built-in shot counter to help you track remaining lifespan.